Insights Partnerships

 Cloud Server v3.x
 Overview
This document describes how you can connect Insights data with third party providers. Currently we support integrations with Datadog and Sumo Logic.
Datadog integration
You can send data to Datadog through the use of webhooks with CircleCI.
- In the CircleCI App, click on the ellipsis menu for each project, and then click Project Settings > Webhooks.
-
Webhook URL:
https://webhook-intake.datadoghq.com/api/v2/webhook/?dd-api-key=<API_KEY>where<API_KEY>is your Datadog API key. -
Name:
Datadog CI Visibilityor any other identifier name that you want to provide. -
Events: Select
Workflow CompletedandJob Completed. - Certificate verifications: Enable this check.
-
Webhook URL:
- Click Add Webhook to save the new webhook.
Visualize pipeline data in Datadog
Sign in to Datadog and visit the Pipelines and Pipeline Executions pages to see data populate after workflows finish.
Note: The Pipelines page will only show data for the default branch of each repository.
Sumo Logic integration
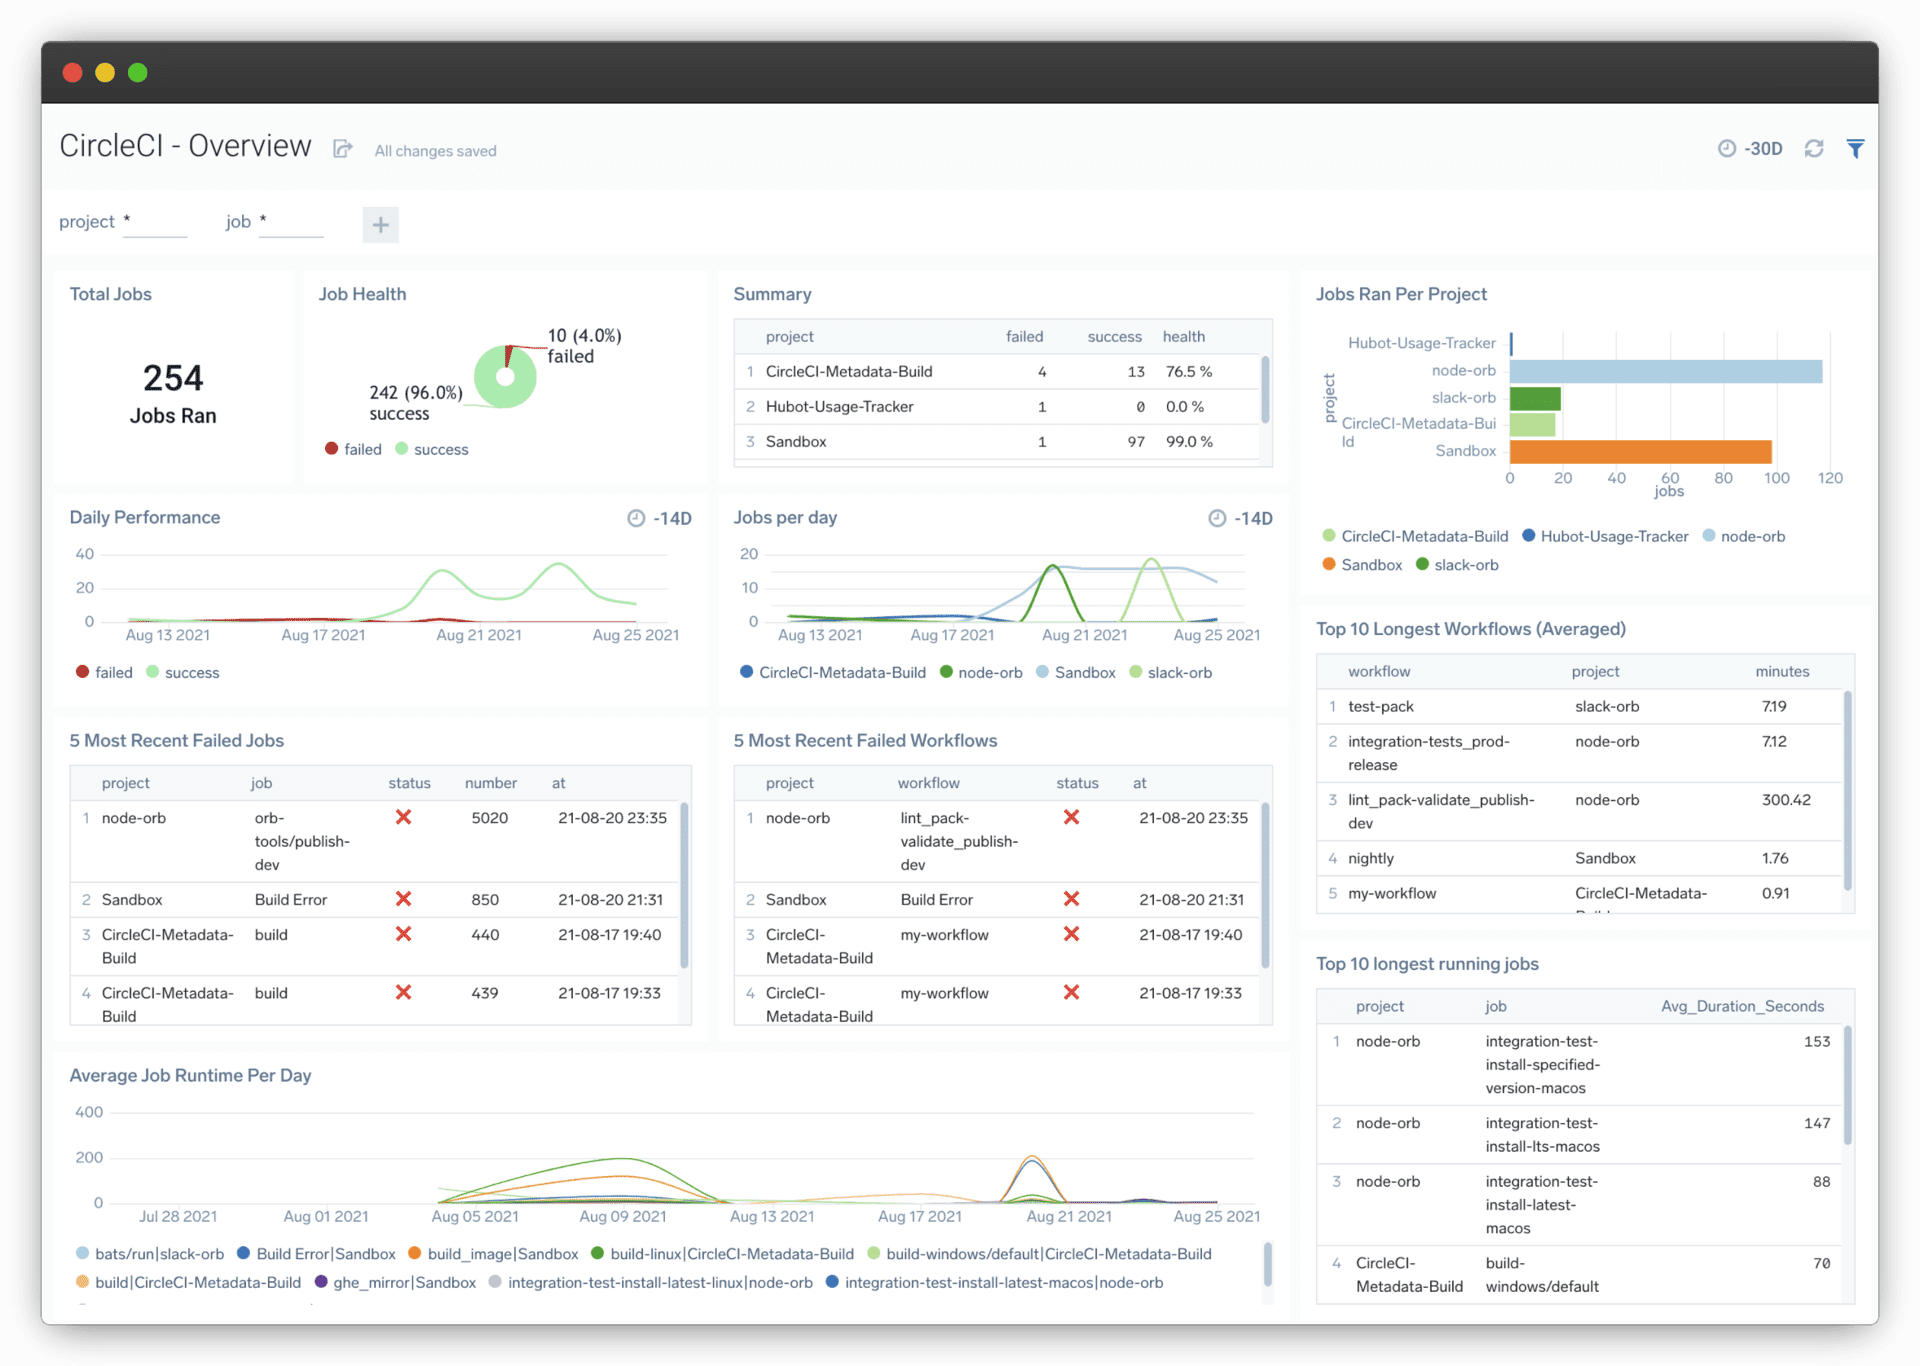
The CircleCI app for Sumo Logic provides advanced views to track the performance and health of your continuous integration and deployment pipelines.
The CircleCI dashboard for Sumo Logic
Use this dashboard to:
- Monitor real-time CI performance, activity, and health, or track over time.
- Identify opportunities for optimization.

Gain insights into your pipelines with the included dashboard panels. Filter each panel for specific projects or jobs, over any period of time. Available dashboard panels include:
- Total Jobs Ran
- Job Health (% success)
- Summary
- Jobs Ran Per Project
- Daily Performance
- Jobs Per Day
- 5 Most Recent Failed Jobs
- 5 Most Recent Failed Workflows
- Top 10 Longest Workflows (Averaged)
- Top 10 Longest Running Jobs
- Average Job Runtime Per Day
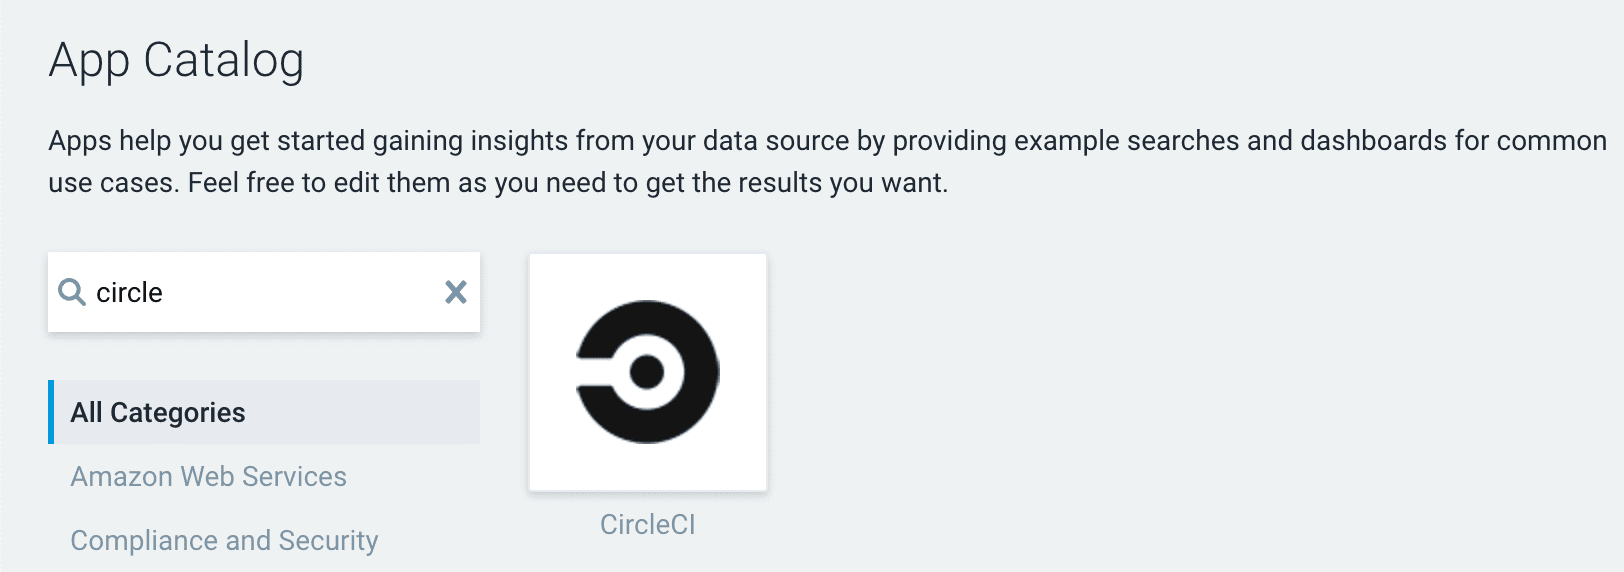
Install the CircleCI dashboard by using the App Catalog from the dashboard home page.

This dashboard receives data through the CircleCI Sumo Logic orb which must be included in your projects to be tracked.
Set up Sumo Logic metrics using CircleCI webhooks
To begin collecting and visualizing data with Sumo Logic, first configure CircleCI webhooks to send metrics data to Sumo Logic.
Configure Webhooks
Step 1. Configure Hosted Collector
Follow the Sumo Logic documentation for Configuring a Hosted Collector.
Step 2. Add an HTTP Source
To get the URL where the CircleCI Webhooks will be sent, and then recorded to the collector, we must add an HTTP Source.
When complete, copy the generated “HTTP Source Address”. You can always get this link from Sumo Logic again in the future. This is the URL that will need to be entered in the CircleCI Webhooks UI in the next step.
Step 3. Configure Project Webhooks
For each project on CircleCI you wish to track, configure a webhook directed at the HTTP Source Address. Follow the CircleCI docs for configuring webhooks.
When configuring the webooks, ensure to include both the “workflow-completed”, and “job-completed” events.
Install the CircleCI App for Sumo Logic
Now that you have set up collection, install the Sumo Logic App for CircleCI to use the preconfigured searches and Dashboards that provide insight into your CI Pipeline.
To install the CircleCI app for Sumo Logic:
- Locate and install the CircleCI app from the App Catalog. If you want to see a preview of the dashboards included with the app before installing, click Preview Dashboards.
- Select the version of the service you are using and click Add to Library. Version selection is applicable only to a few apps currently. For more information, see the Install the Apps from the Library document.
- To install the app, complete the following fields.
- App Name. You can retain the existing name, or enter a name of your choice for the app.
- Data Source. Select either of these options for the data source:
- Choose Source Category, and select a source category from the list.
- Choose Enter a Custom Data Filter, and enter a custom source category beginning with an underscore. Example:
(_sourceCategory=MyCategory). - Advanced. Select the Location in Library (the default is the Personal folder in the Library), or click New Folder to add a new folder.
- Click Add to Library.
Once an app is installed, it will appear in your Personal folder, or wherever you set to be the default in your library. From here, you can share it with your organization. Panels will start to fill automatically. It is important to note that each panel slowly fills with data matching the time range query and received since the panel was created. Results won’t immediately be available, but with a bit of time, you will see full graphs and maps.
Help make this document better
This guide, as well as the rest of our docs, are open source and available on GitHub. We welcome your contributions.
- Suggest an edit to this page (please read the contributing guide first).
- To report a problem in the documentation, or to submit feedback and comments, please open an issue on GitHub.
- CircleCI is always seeking ways to improve your experience with our platform. If you would like to share feedback, please join our research community.
Need support?
Our support engineers are available to help with service issues, billing, or account related questions, and can help troubleshoot build configurations. Contact our support engineers by opening a ticket.
You can also visit our support site to find support articles, community forums, and training resources.

CircleCI Documentation by CircleCI is licensed under a Creative Commons Attribution-NonCommercial-ShareAlike 4.0 International License.


